Are you dreaming of a lush, colorful garden filled with flowers you’ve grown from seed? Whether you’re a home gardener looking to expand your flower beds or an aspiring flower farmer, seed starting can be a game-changer. In this episode of The Flower Files, hosts Liza Goetz and Lizzie Frey, along with guest Kenley Shocker, dive deep into the world of seed starting. From why starting from seed is essential to how to avoid common mistakes, this guide will walk you through everything you need to know.
Why Start Flowers from Seed?
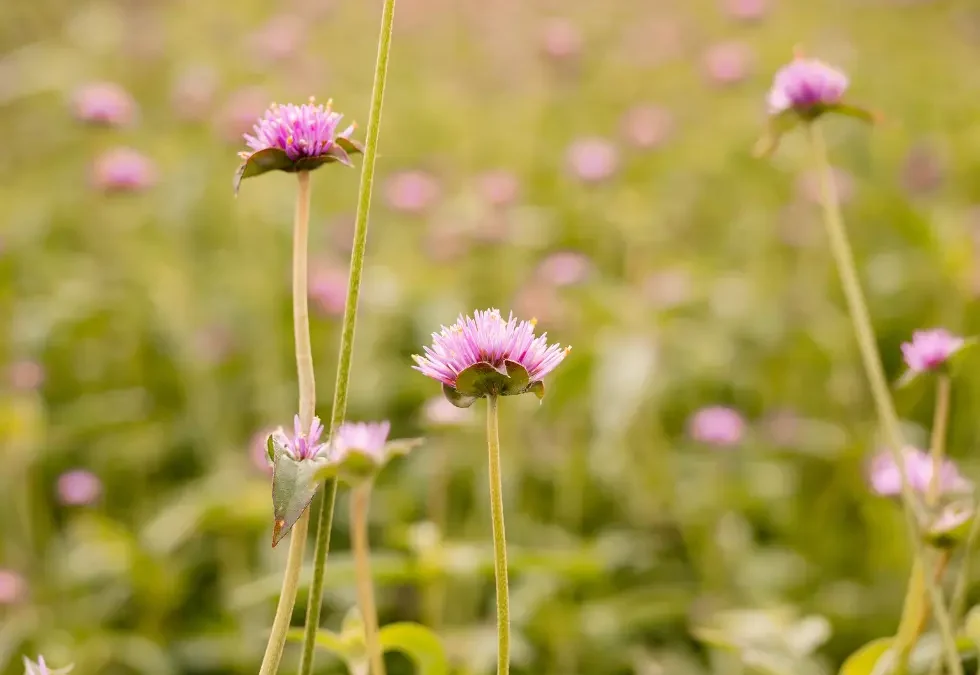
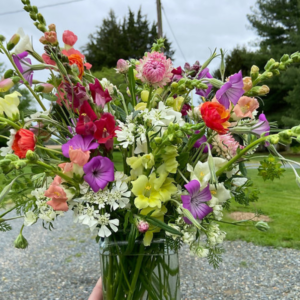
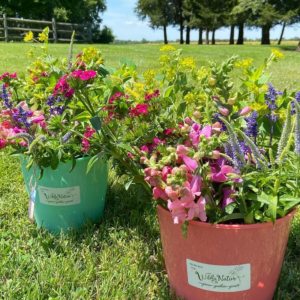
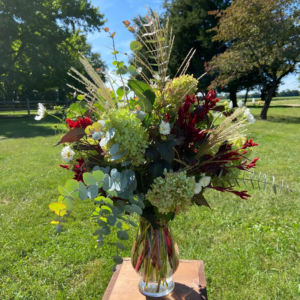
Starting flowers from seed opens up a world of possibilities. Many flower varieties aren’t available at local nurseries, so growing from seed gives you access to a wider selection of colors and types. Additionally, it’s often more cost-effective—one seed packet can produce dozens of plants for a fraction of the price of mature transplants.
Other benefits of seed starting include:
- Full Control Over Varieties: You can ensure you’re growing exactly what you want, without relying on what’s available at the store.
- Better Plant Quality: Store-bought plants can sometimes be root-bound or stressed; growing your own allows for optimal conditions from the start.
- Cost Savings: A single packet of seeds can yield a season’s worth of flowers for bouquets, gardens, or even a flower farm.
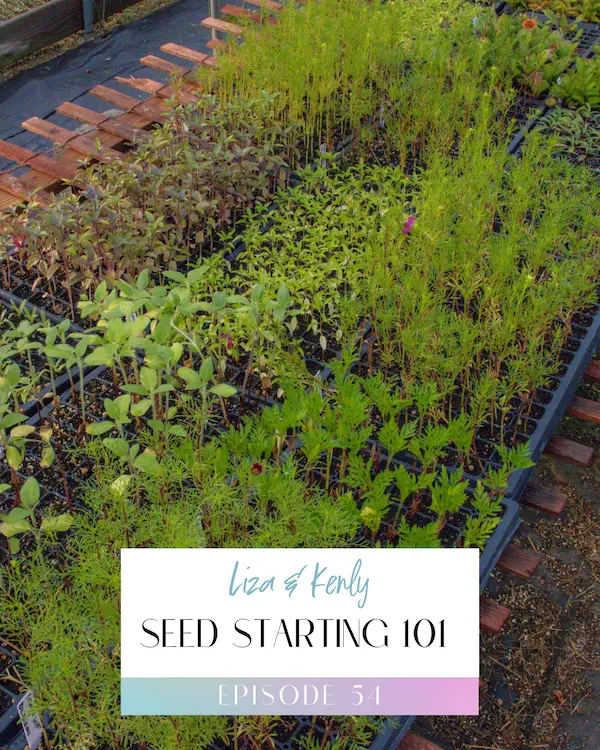
Essential Supplies for Seed Starting
Before you begin, gather the necessary supplies:
- Seed Trays: The team at Wildly Native Flower Farm prefers 128-cell trays as they provide a perfect balance of space and ease of transplanting.
- High-Quality Soil: Use a light, well-draining soil mix designed for seed starting.
- Watering System: A gentle watering method, like a DRAM nozzle, prevents soil disruption.
- Grow Lights or Natural Light: Proper lighting ensures strong, healthy seedlings.
- Plant Labels: Labeling each tray prevents confusion later.
- Humidity Dome (if needed): Some seeds benefit from extra humidity for germination.
Step-by-Step Guide to Seed Starting
1. Prepare Your Soil
- Fill your trays or containers with moist (but not soaking wet) soil.
- Tap the trays gently to eliminate air pockets.
2. Plant Your Seeds
- Follow the instructions on the seed packet—some seeds need to be covered with soil, while others require light to germinate.
- Be mindful of spacing and seed depth.
3. Watering
- Use a gentle spray or mist to moisten the soil without disturbing the seeds.
- Avoid overwatering, which can cause damping off (a fungal disease that kills young seedlings).
4. Provide Proper Light & Temperature
- Use grow lights if natural light is insufficient.
- Some seeds require bottom heat for germination, so consider a heat mat for warmth-loving varieties.
5. Monitor Growth & Adjust
- Check daily for moisture and signs of germination.
- Thin out weaker seedlings to give stronger ones room to grow.
6. Harden Off Before Transplanting
- Gradually expose young plants to outdoor conditions over 7-10 days before moving them to the garden.
Common Seed Starting Mistakes to Avoid
Even experienced growers make mistakes, but being aware of these common pitfalls can help you avoid them:
- Overwatering: Can lead to fungal issues like damping off.
- Not Labeling Trays: It’s easy to forget what you planted where!
- Skipping Hardening Off: Seedlings need time to adjust to outdoor conditions.
- Ignoring Light Needs: Insufficient light leads to leggy, weak plants.
Final Thoughts: Just Start!
Seed starting may seem intimidating, but don’t let fear stop you. As Kenley wisely puts it, “Don’t procrastinate when it comes to gardening.” The more you practice, the more confident you’ll become.
So, grab some seeds, get your trays ready, and start growing! If you have questions, reach out on Instagram (@WildlyNativeFlowerFarm) or via email. And don’t forget to subscribe to The Flower Files for more flower-growing tips and tricks.
Happy planting!